وب سایت تخصصی شرکت فرین
دسته بندی دوره ها

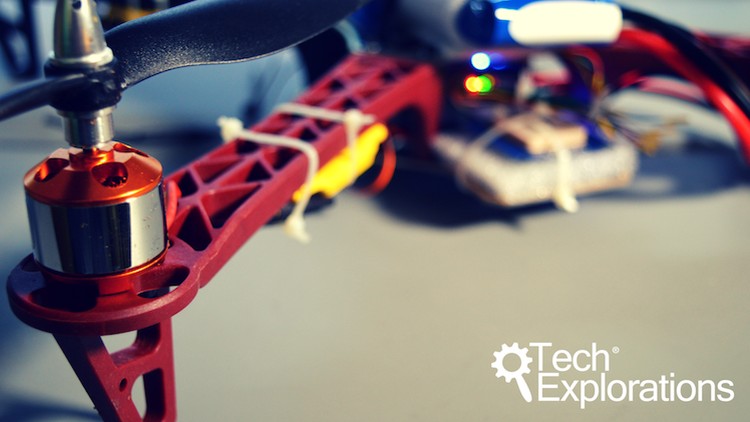
Make an Open Source Drone

سرفصل های دوره

A fun project in which you learn about drones by making one. Use the Pixhawk or Multiwii AIO flight controllers


1. Introduction
  • 1. What is this course about
  • 2.1 List of tools and parts.html
  • 2.2 Make an Open Source Drone - Parts used v2.pdf
  • 2.3 Make an Open Source Drone - Tools used.pdf
  • 2. Parts and Tools.html
  • 3. Crius or Pixhawk Read this before you continue.html

  • 2. Multi-copter drone basics
  • 1. Introduction
  • 2. Another drone classification
  • 3. Types of multi-rotor drones
  • 4. Roll, pitch, yaw
  • 5. Controlling the motors
  • 6. Procuring the right parts
  • 7. Terminology
  • 8. Propellers
  • 9. Battery and charger, Part 1
  • 10. Battery and charger, Part 2
  • 11. Flight controller and its peripherals
  • 12. Other tools and things
  • 13. Conclusion

  • 3. ESC and motors
  • 1. Introduction
  • 2. Preparation
  • 3. Attach the connectors to the ESC wires
  • 4. Attach connectors to motor wires
  • 5. Conclusion

  • 4. Power distribution board assembly
  • 1. Introduction
  • 2. About the power distribution board
  • 3. Solder the ESC power wires
  • 4. Solder the battery wires and connectors
  • 5. Conclusion

  • 5. Main body assembly
  • 1. Introduction
  • 2. Attach the motors to the arms
  • 3. Attach the arms to the power distribution board, Part 1
  • 4. Attach the arms to the power distribution board, Part 2
  • 5. Conclusion

  • 6. Flight controller and peripherals
  • 1. Introduction
  • 2. The PWM and PPM signalling options, Part 1
  • 3. The PWM and PPM signalling options, Part 2
  • 4. Setup radio receiver and flight controller to use PWM
  • 5. Connect the GPS module to the flight controller, Part 1
  • 6. Connect the GPS module to the flight controller, Part 2
  • 7. Connect the GPS module to the flight controller, Part 3
  • 8. Connect the GPS module to the flight controller, Part 4
  • 9. Attach flight controller to chassis
  • 10. Connect ESCs to flight controller
  • 11. Conclusion

  • 7. Battery and charger
  • 1. Introduction
  • 2. A primer on batteries
  • 3. How to charge the battery
  • 4. Attach the battery to the frame
  • 5. Conclusion

  • 8. The firmware
  • 1. Introduction
  • 2.1 EEPROM clear.zip
  • 2. Clear the EEPROM
  • 3. Download and install the firmware
  • 4. Conclusion

  • 9. The transmitter
  • 1. Introduction
  • 2. Binding receiver and transmitter
  • 3. Understand the transmitter basic operations
  • 4. Conclusion

  • 10. Mission Planner
  • 1. Introduction
  • 2. Download and install Mission Planner
  • 3. Mission Planner setup, Part 1
  • 4. Mission Planner setup, Part 2
  • 5. Test the GPS module
  • 6. Conclusion

  • 11. Getting ready to fly
  • 1. Introduction
  • 2.1 Make an Open Source Drone - ESC calibration process.pdf
  • 2. Calibrate the ESCs
  • 3. Attach the propellers
  • 4. Safety and legal issues
  • 5. Conclusion

  • 12. Test flight!
  • 1. Introduction
  • 2.1 Make an Open Source Drone - Preflight Check.pdf
  • 2. Pre-flight checks
  • 3. The first flight
  • 4. Conclusion

  • 13. An upgrade using the Pixhawk flight controller
  • 1. 800 - Section introduction
  • 2. 810 - Why upgrade- The Pixhawk flight controller
  • 3. 820 - Disassembly
  • 4. 830 - A review of the upgrade components
  • 5. 840a - Assembly Part 1 - Propellers
  • 6. 840b - Assembly Part 2 - ESC red wire insulation
  • 7. 840c - Assembly Part 3 - Pixhawk base
  • 8. 840d - Assembly Part 4 - GPS antenna
  • 9. 840e - Assembly Part 5 - Pixhawk assembly
  • 10. 840f - Assembly Part 6 - Buzzer, safety button, power module
  • 11. 840g - Assembly Part 7 - Wirings
  • 12. 840i - Battery and power connections
  • 13. 840h - Verify wiring in Mission Planner
  • 14. 850 - Attach the propellers
  • 15. 855 - ESC calibration with the Pixhawk and safety switch
  • 16. 860 - Calibration and test flight

  • 14. An upgrade using the MATEK F405TE flight controller
  • 1. Objectives of this upgrade
  • 2. The MATEK F405TE flight controller an introduction
  • 3. Disassemble the Pixhawk drone
  • 4. Prepare for the assembly what youll need
  • 5. Soldering of wires and connectors
  • 6. Assembly Part 1
  • 7. Assembly Part 2
  • 8. Assembly - Extended version
  • 9. Wiring verification and first boot
  • 10. Upload Ardupilot firmware to the MATEK f405TE
  • 11. Pre-flight calibration with Mission Planner
  • 12. Calibration for new EMC and motors
  • 13. Pre-flight modifications
  • 14. Test flight

  • 15. Conclusion
  • 1. Whats next
  • 2. Bonus Lecture.html
  • 139,000 تومان
    بیش از یک محصول به صورت دانلودی میخواهید؟ محصول را به سبد خرید اضافه کنید.
    افزودن به سبد خرید
    خرید دانلودی فوری

    در این روش نیاز به افزودن محصول به سبد خرید و تکمیل اطلاعات نیست و شما پس از وارد کردن ایمیل خود و طی کردن مراحل پرداخت لینک های دریافت محصولات را در ایمیل خود دریافت خواهید کرد.

    ایمیل شما:
    تولید کننده:
    شناسه: 34217
    حجم: 9273 مگابایت
    مدت زمان: 677 دقیقه
    تاریخ انتشار: ۲۹ فروردین ۱۴۰۳
    دسته بندی محصول
    طراحی سایت و خدمات سئو

    139,000 تومان
    افزودن به سبد خرید