در حال حاضر محصولی در سبد خرید شما وجود ندارد.

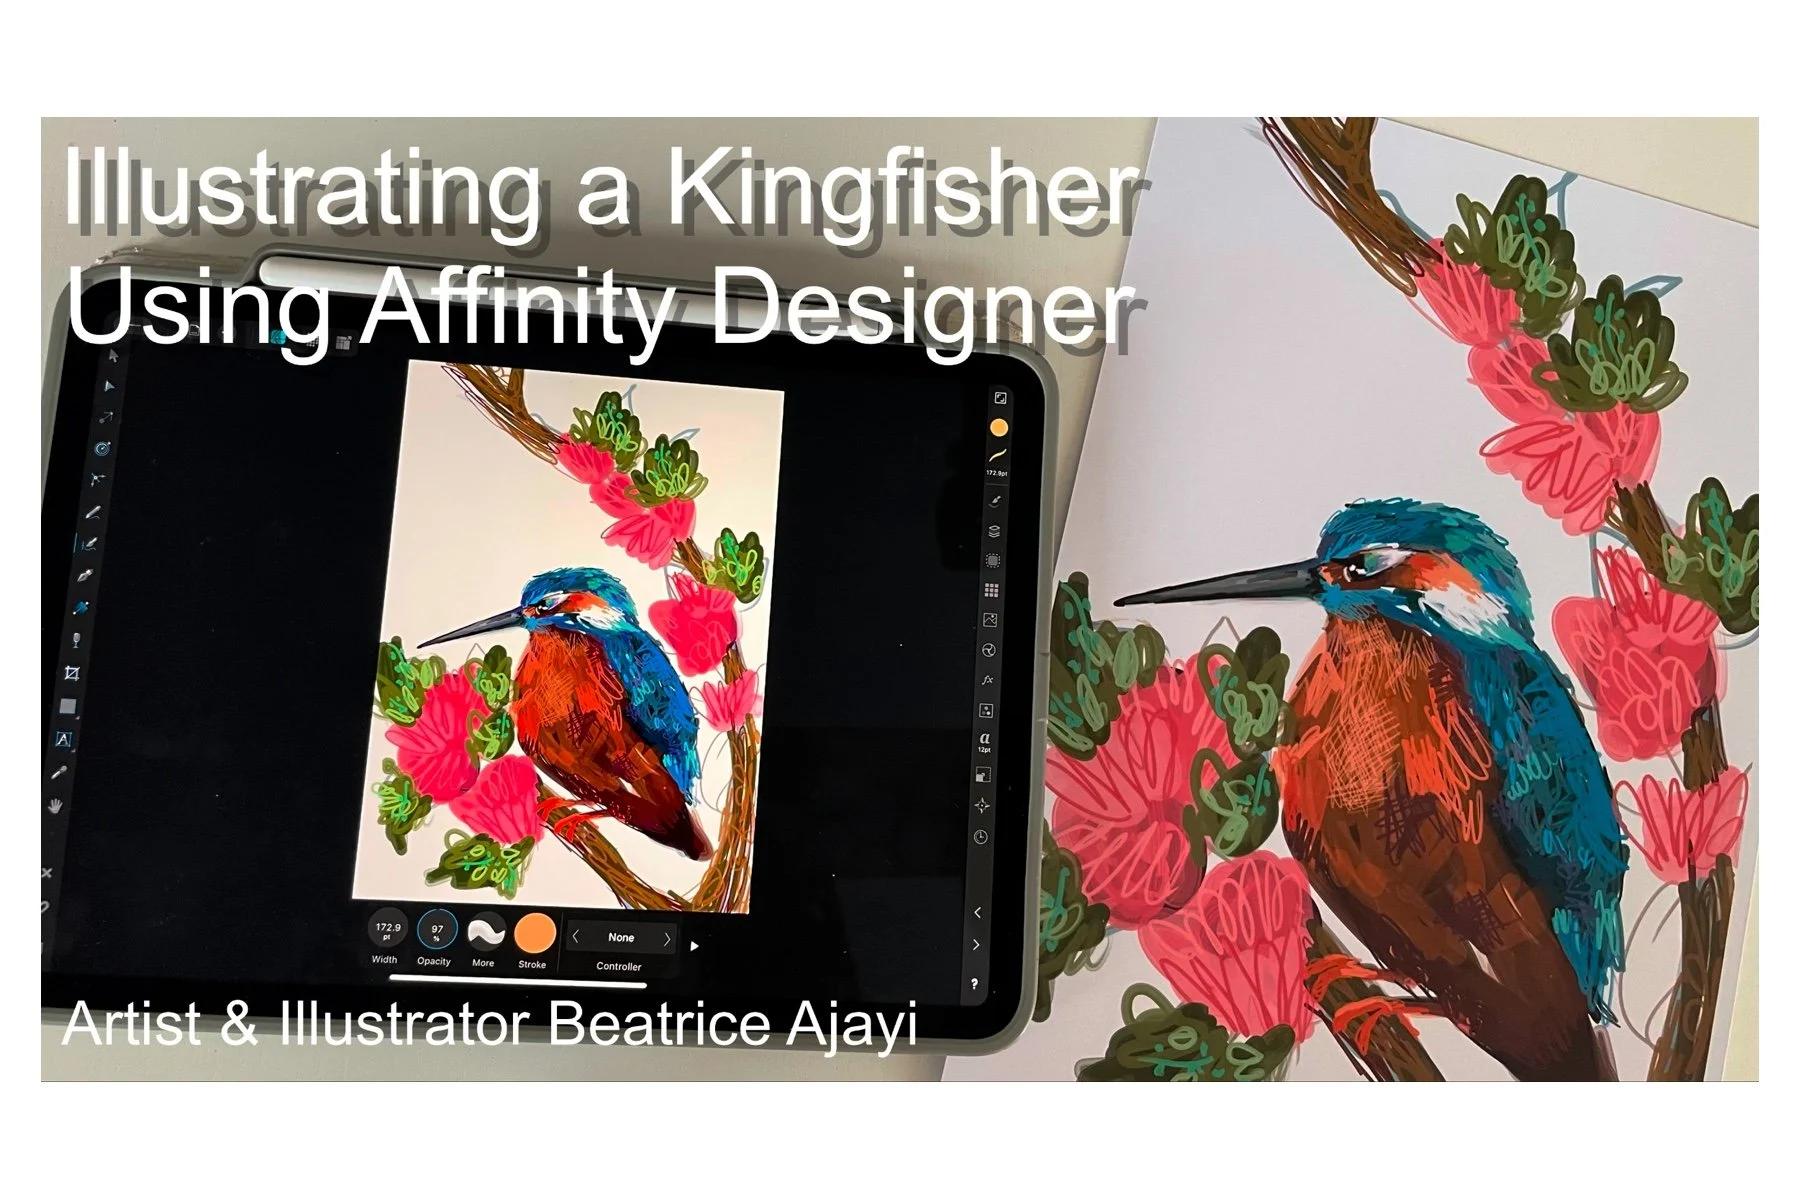
Welcome to this class entitled ’Illustrating a Kingfisher Using Affinity Designer’
I will give you step by step information from start to final product and give you a real case study of myself replicating the class project.
I will create a final art print for you to see and understand how within reach the creation of a basic illustration in Affinity Designer is.
I will provide, step by step description in the class for you to use.
It is hands on and will be amazing to share your process or final product. What an achievement!!
Once you have that art print in your hands you won’t look back.
We take it slow and steady, don’t put pressure on yourself, life takes up our time too and that’s good, really good for inspiration and prompts for our creativity. You can take breaks in between and come back to it.
Tools:
iPad
Pc or Mac and drawing tablet, (Wacom tablet /Wacom Intuos Small Drawing Tablet Bluetooth - Digital Tablet for Painting, Sketching and Photo Retouching with pressure sensitive pen.
oh! And a paper and pen/pencil, you can always sketch out your inspiration before starting the digital.
*** This is a condensed process to get an idea how to get straight in to creating an illustration in affinity designer, so that we actually start and finish a project. Each student can use it as a template and do what they feel comfortable in their art practice. You can add more to your piece than I do, like a coloured background or scenery.***
در این روش نیاز به افزودن محصول به سبد خرید و تکمیل اطلاعات نیست و شما پس از وارد کردن ایمیل خود و طی کردن مراحل پرداخت لینک های دریافت محصولات را در ایمیل خود دریافت خواهید کرد.

✨ تا ۷۰% تخفیف با شارژ کیف پول 🎁
مشاهده پلن ها